Garlic Crawfish: The Summer Dish I Finally Got Right
Garlic burnt bitter? Crawfish tough and chewy? Broth bland and greasy? After ruining this summer beer classic three different ways, I finally learned the secrets: sauté garlic over low heat until light golden, simmer exactly 15 minutes, and finish with a fresh batch of raw minced garlic.

Imagine this: a sweltering summer night, an ice-cold beer sweating on the table, and a pile of bright red crawfish glistening in garlic oil. That was the scene playing in my mind when I first tried making this dish at home.
But what I brought out of the kitchen was a bitter, burnt mess. The garlic had turned dark brown and gave off a pungent odor. The crawfish were tough and chewy. The sauce was bland and unremarkable. My family politely took a bite before pushing the plate aside.
Through my next few attempts, I learned an important lesson: you can’t rush this dish. It requires patience with the garlic, precise control over the timing, and a little trick about cooking the garlic in two batches—it was this trick that completely turned things around.
Here’s the method I finally settled on.
Ingredients
- Fresh, live crayfish—1 kilogram (about 2.2 pounds)
- Garlic—3 to 4 whole heads
- Ginger—1 piece, sliced
- Bird’s eye chilies—5 to 6, sliced
- Beer—2 cans (about 660 milliliters total)
- Water—enough to cover the ingredients
- Light soy sauce—3 tablespoons
- White sugar—2 tablespoons
- Green onion—1 stalk, tied in a knot
- Bay leaves—2
- Star anise—2
- Salt—to taste
- Cilantro—a small handful, for garnish
- Neutral cooking oil—about twice the amount used for stir-frying
Starting with the Crawfish
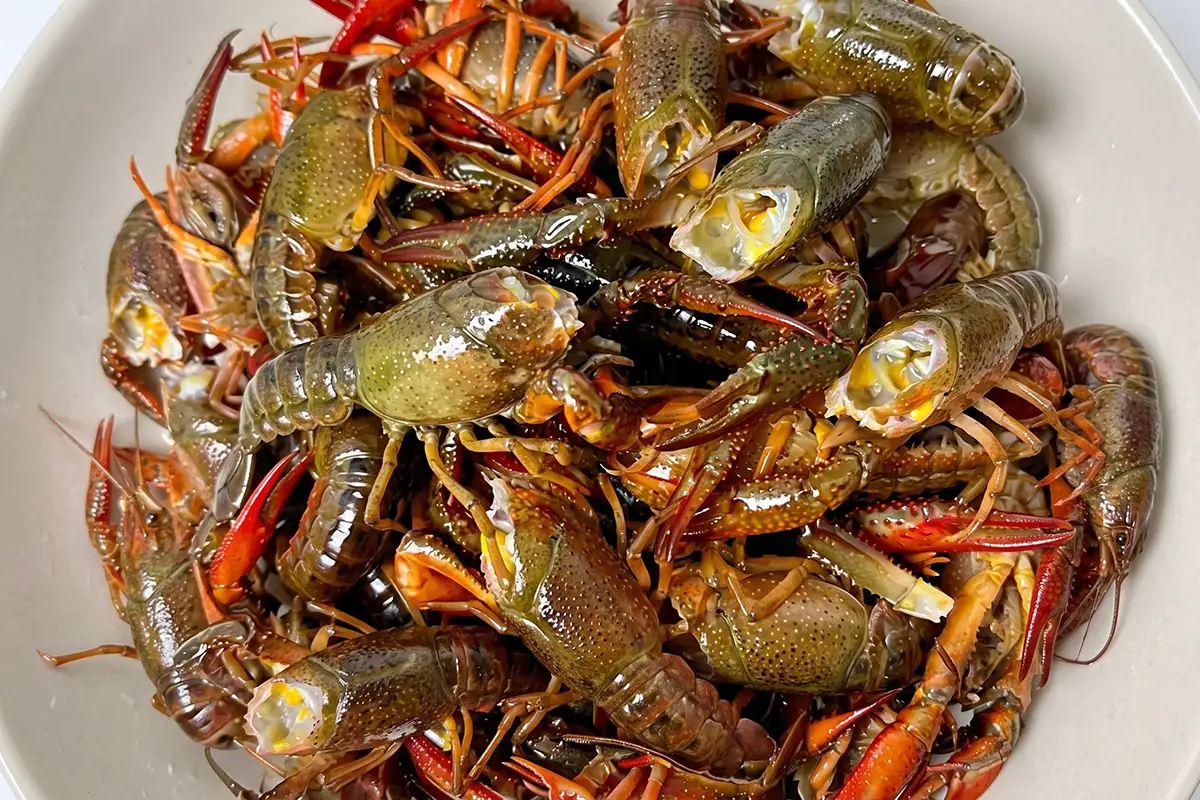
The first thing I learned is: You must use live crawfish. Dead crawfish have mushy meat because digestive enzymes immediately begin breaking down the muscle tissue after death. Live crawfish, on the other hand, have firm, chewy meat with a fresh, sweet flavor.
Once you bring them home, wash them thoroughly:
- Cut off the front third of the head (where most of the mud and sand accumulates).
- Gently pull out the black intestinal tract from the tail.
- Carefully scrub the underside, claws, and shell crevices with a brush. Since crayfish live in mud, skipping this step means you’ll end up chewing on sand.
- Rinse twice under running water. Drain thoroughly.
This takes about 15 minutes. Although it’s tedious, skipping this step will ruin the entire dish.
Garlic: Two Batches, One Secret
This is the most critical part of the entire recipe.
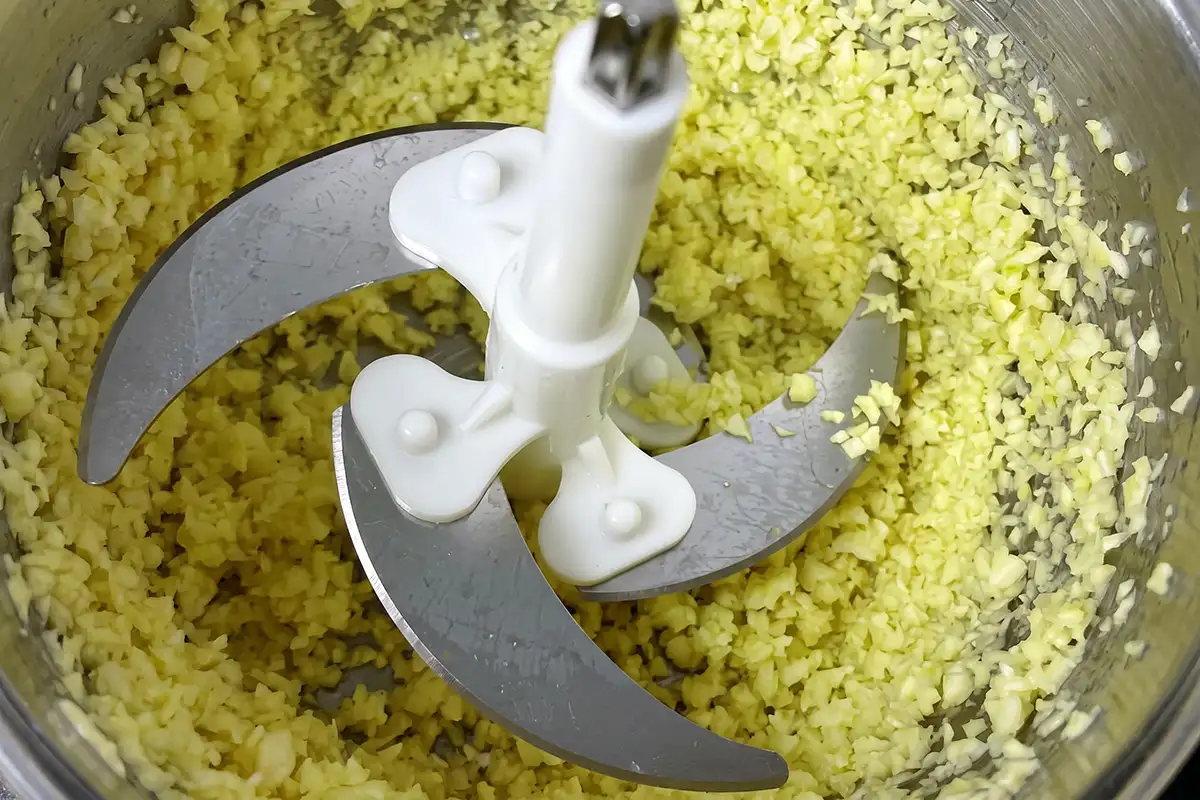
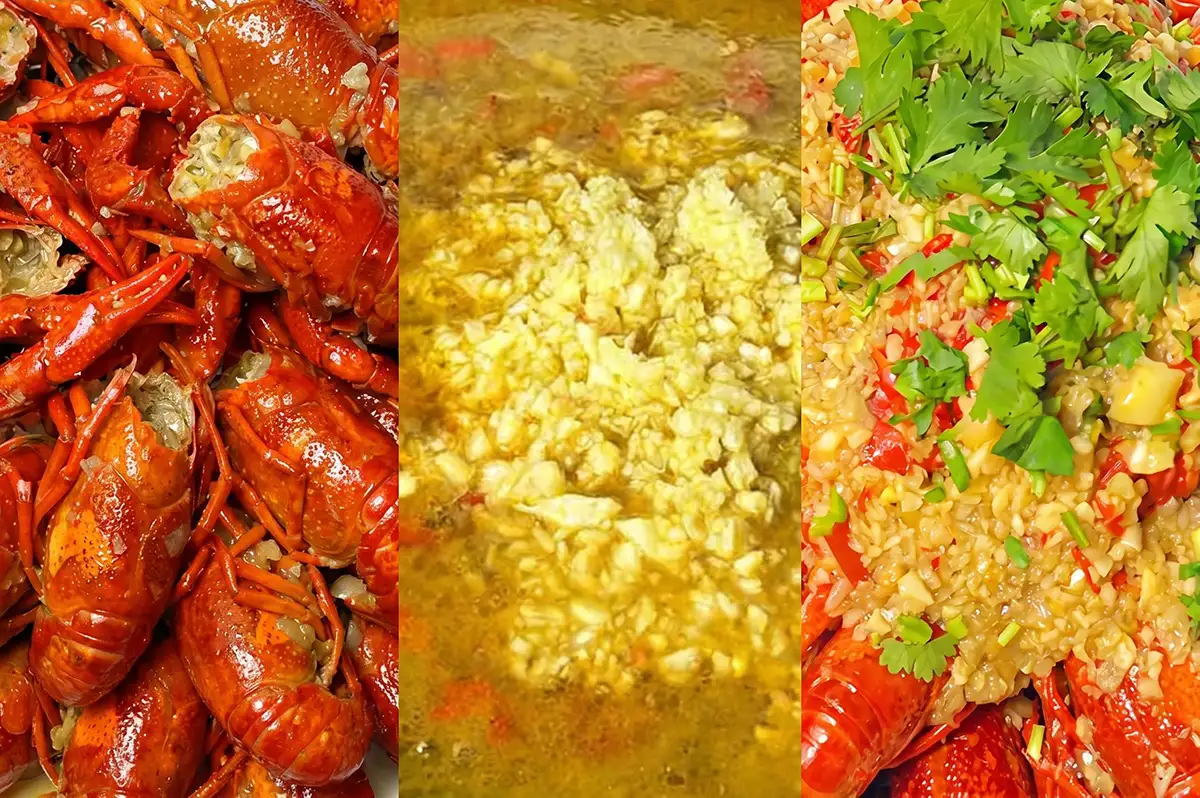
Peel all the garlic cloves and place them in a food processor. Pulse intermittently until coarsely chopped—you should still be able to see distinct pieces of garlic, rather than a smooth paste. Chunkier garlic is less likely to burn and provides a better texture.
Divide the chopped garlic into two portions: two-thirds for cooking, and one-third for final seasoning.
Why? Cooked garlic establishes a deep, rich, and savory foundation for the dish. The fresh garlic added at the end provides a fresh, spicy kick that brings the entire dish to life. If you use only cooked garlic, the flavor will seem bland; if you use only fresh garlic, the taste will be too pungent and raw. Both are essential.
Sautéing Garlic Over Low Heat
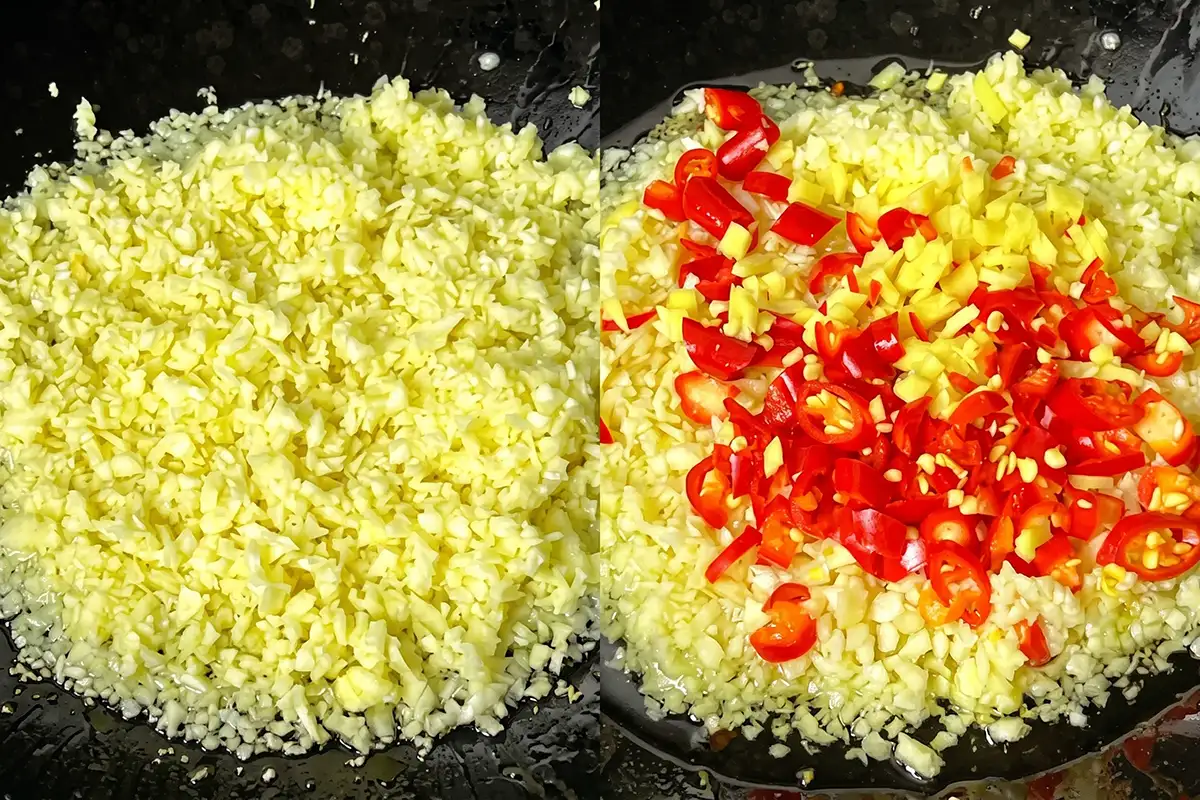
Heat a wok over medium-low heat—the oil should be warm but not smoking. Use about twice as much oil as you would for a typical stir-fry.
Add two-thirds of the minced garlic, along with the sliced ginger and chili pepper.
Keep the heat low. This is where I messed up the first time I made this. Thinking I could save time, I turned up the heat. The garlic turned dark brown within seconds, and the whole dish took on a bitter taste. Low heat allows the garlic to slowly release its aroma while preventing it from crossing the threshold of burning.
Stir-fry for about 3 to 4 minutes, until the garlic turns light golden brown and becomes fragrant. Do not let it turn dark brown or burn—keep it light golden brown.
Add 2 tablespoons of sugar and stir until the sugar is completely dissolved. At this point, the garlic should have a glossy sheen.
Add the Crawfish and Simmer
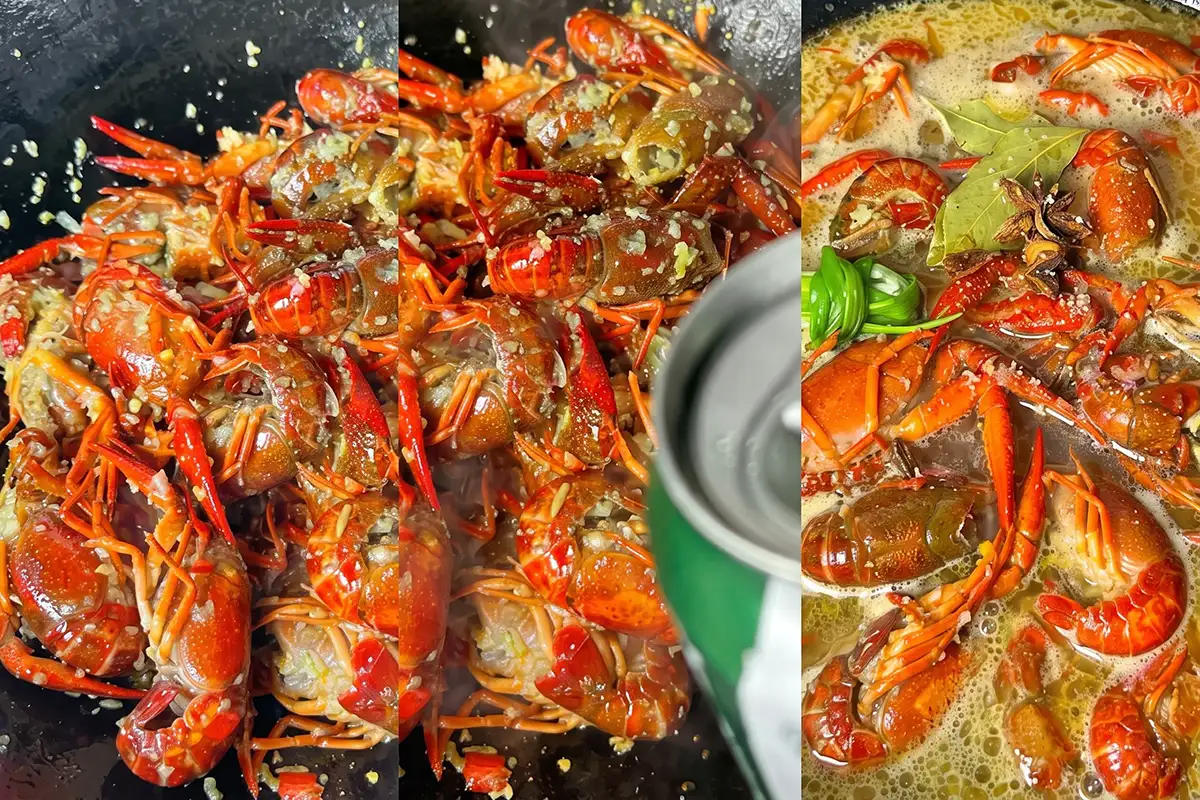
Adjust the heat to medium. Add the drained crawfish and continue stir-frying for about 2 minutes, until all the shells turn bright red.
Now pour in 2 cans of beer. Add enough water to fully submerge all the crawfish. Add soy sauce, scallion knots, bay leaves, star anise, and salt.
Once the broth comes to a boil, cover the pot and reduce the heat to medium.
Set the timer for exactly 15 minutes. This isn’t a suggestion—it’s a golden rule. I once simmered them for 30 minutes, thinking longer cooking would make the flavor richer, but the meat ended up tough, dry, and chewy. Crayfish cook very quickly. Fifteen minutes is the perfect time: they’re fully cooked, thoroughly flavored, and still tender.
As soon as the timer goes off, immediately remove the crayfish and arrange them on a serving dish.
Final Step
Add the reserved one-third of the minced fresh garlic to the broth. Give it a gentle stir—the residual heat is enough to warm it through without cooking away its pungent flavor.
Pour the entire pot of garlic-infused broth over the crawfish. Garnish with cilantro. Serve immediately.
My Mistakes and How to Fix Them
The garlic burned and turned bitter. I stir-fried it over high heat in a hurry. Solution: Stir-fry slowly over low heat until it turns a light golden brown.
The crayfish meat was tough and chewy. I simmered them for 30 minutes. Solution: Simmer for exactly 15 minutes—do not exceed this time.
The broth was bland and greasy. I used too much oil and forgot to add fresh garlic at the end to enhance the flavor. Solution: Measure the oil precisely and be sure to add fresh garlic to enhance the flavor.
If You Can’t Find Live Crawfish
In a pinch, you can use frozen raw crawfish (after thawing), but the meat won’t be as firm. The stewing time should be 12 minutes, not 15 minutes.
We do not recommend using frozen cooked crawfish—the meat has already softened and won’t retain its texture.
Alternatives and Adjustments
| Substitute | Use | Notes |
|---|---|---|
| Beer | Chicken broth (660 ml) | Add 1 extra teaspoon of sugar. The malty flavor is milder, but it’s still delicious. |
| Bird’s eye chili | Crushed red pepper (1 teaspoon) | Add along with the garlic. |
| Light soy sauce | Regular soy sauce | Reduce to 2.5 tablespoons—regular soy sauce is saltier. |
| Cilantro | Green onions | Use the same amount; the result is similar. |
For a spicier dish: Use 10 to 12 chili peppers and leave the seeds in.
For a milder flavor: Use 2 to 3 chili peppers and remove the seeds.
For a stronger garlic flavor: Use 5 to 6 heads of garlic. Use three-quarters during cooking and the remaining quarter for seasoning at the end.
How I Serve It
I bring the entire pot to the table—the crayfish “swimming” in the rich, garlicky broth. I set out small plates, a stack of napkins, a bowl for the shells, and ice-cold beer.
Everyone peels their own. Before eating, dip the meat in the remaining broth. That’s our ritual.
Serving Suggestions:
- Chilled beer—a must
- Steamed rice—the broth is too delicious to waste
- Cucumber salad—to cut through the richness
Not Recommended:
- Another spicy dish—one is enough
- Greasy dishes—the crayfish are already quite rich on their own
What to Do with Leftovers?
Crayfish are best eaten fresh. If you have leftovers, place them in an airtight container and refrigerate for up to 2 days. Add a little water or beer to the pan and reheat slowly over low heat. If possible, avoid reheating in the microwave—the meat will become mushy.
Freezing is not recommended. The meat will become soft and mushy.
Quick Answers
Why does my garlic taste bitter? It’s because you used too high a heat. Garlic needs to be sautéed over low heat until it turns a light golden brown.
Why is my crayfish meat tough? It’s because you overcooked it. Please simmer for exactly 15 minutes—remember to set a timer.
Can I use frozen crayfish? Yes, but reduce the simmering time to 12 minutes instead of 15. The meat will be slightly more tender.
Why use beer? It adds a subtle malty flavor and helps remove any fishy odor.
Can I use plain water instead? Yes, but you’ll need to add 1 tablespoon of sugar and 1 tablespoon of cooking wine to compensate for the lost flavor.
Why add the garlic in two batches? Cooked garlic adds depth, while the fresh garlic added at the end brightens the flavor. Both are essential.
How do I know when the crayfish are done? The shells should be bright red, and the meat should be firm and springy. 15 minutes is the ideal cooking time.
Can I make it less spicy? Reduce the number of chili peppers to 2–3 and remove the seeds. It will still be fragrant without being too hot.
Three Versions I’ve Actually Made
Classic Version: 5–6 chili peppers, 3–4 heads of garlic. This is my go-to choice for summer gatherings.
Extra-Spicy Version: 10–12 chili peppers, plus crushed red pepper flakes. Perfect for spicy food lovers on cold days.
Mild Version: 2–3 chili peppers, seeded. Great for the whole family—still delicious.
Conclusion
Garlic Crawfish isn’t a complicated dish—it just requires your full attention. Sauté the minced garlic over low heat. Boil the crawfish for 15 minutes. Sauté the garlic in two batches to achieve a richer, more vibrant flavor.
I’ve burned the garlic before, overcooked the crawfish, and even ended up with a bland, greasy broth. It was precisely these failures that taught me the tips I’ve just shared.
Pick a hot summer night, grab a glass of ice-cold beer, gather everyone around the table, and cook this dish together. It might get messy, but the lively atmosphere is exactly what summer cooking is all about.
Related Articles: