The Hardest Dessert I’ve Ever Made: Candied Sweet Potatoes
Sugar burned black and set off the smoke alarm? Caramel turned into grainy white sand? Threads that sagged like toffee instead of pulling into glassy strands? After ruining this dessert three different ways, I finally learned the secrets: double-fry the sweet potatoes, watch the sugar until it hits maple-syrup amber, and coat fast before the caramel hardens.

The first time I tried making this dish, I almost set off the smoke alarm. The sugar burned black in about ten seconds. Thick smoke billowed out of the pot. My wife walked into the kitchen, looked at the charred mess, and asked, “What did you do to the sugar?”
I told myself it was okay and tried again. This time, I was extra careful, keeping a close eye on the sugar. But when I poured it over the sweet potatoes, the sugar turned into grainy white sand. It looked like I’d sprinkled wet sugar on top—there was no sign of smooth caramel at all.
What a bummer.
After washing the pot, I tried again. This time, the caramel had a smooth texture and the color was just right. But when I picked up a piece, the caramel sagged limply. There were no stringy strands. It stuck to my teeth just like toffee.
That very night, I resolved to master this dish. After a few more attempts, I can now make it without a thermometer—and without panicking.
Here’s what I’ve learned through trial and error.
Ingredients
- Sweet potatoes—1,000 grams (orange-fleshed variety, the kind labeled “Japan” or “Korea” at Asian grocery stores)
- Potato starch—1 tablespoon (cornstarch works too)
- Neutral-flavored cooking oil—enough for deep-frying (about 4–5 cups for a medium-sized pot)
- Granulated sugar—200 grams
- Water—100 milliliters
First, Understanding Sweet Potatoes
Before considering the caramel coating, there are two key points to keep in mind about the sweet potatoes themselves.
Cut the sweet potatoes into “rolled chunks.” That is, make one cut, roll the sweet potato a quarter turn, make another cut, and roll it again. The chunks should be 3 to 4 centimeters in size and irregularly shaped. These irregular surfaces provide more surface area for the caramel to adhere to. While regular cubes may look neat, they don’t hold the caramel coating as well.
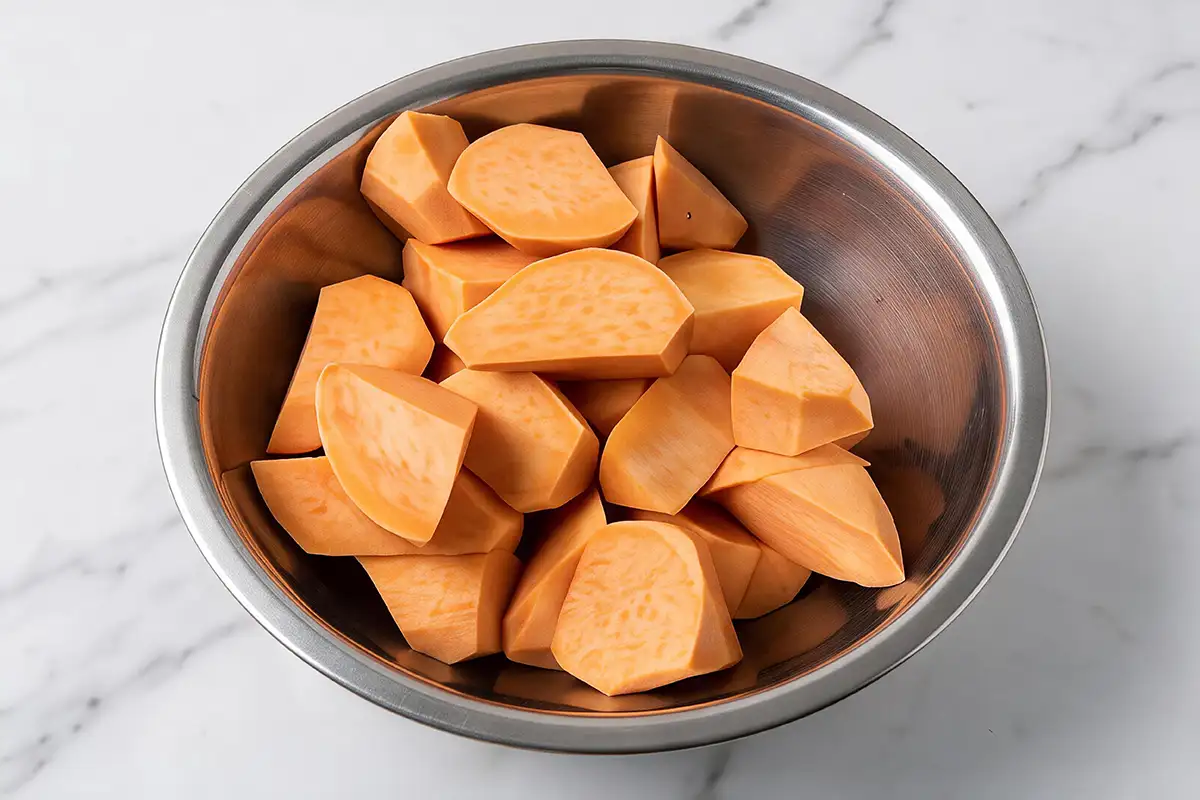
Rinse off the starch on the surface, then pat them completely dry. The skin of sweet potatoes contains a lot of starch. If not rinsed thoroughly, the chunks will stick together during frying. Furthermore, if they aren’t dried thoroughly after rinsing, the starch added later will clump together, forming thick, sticky patches instead of a thin, even coating.
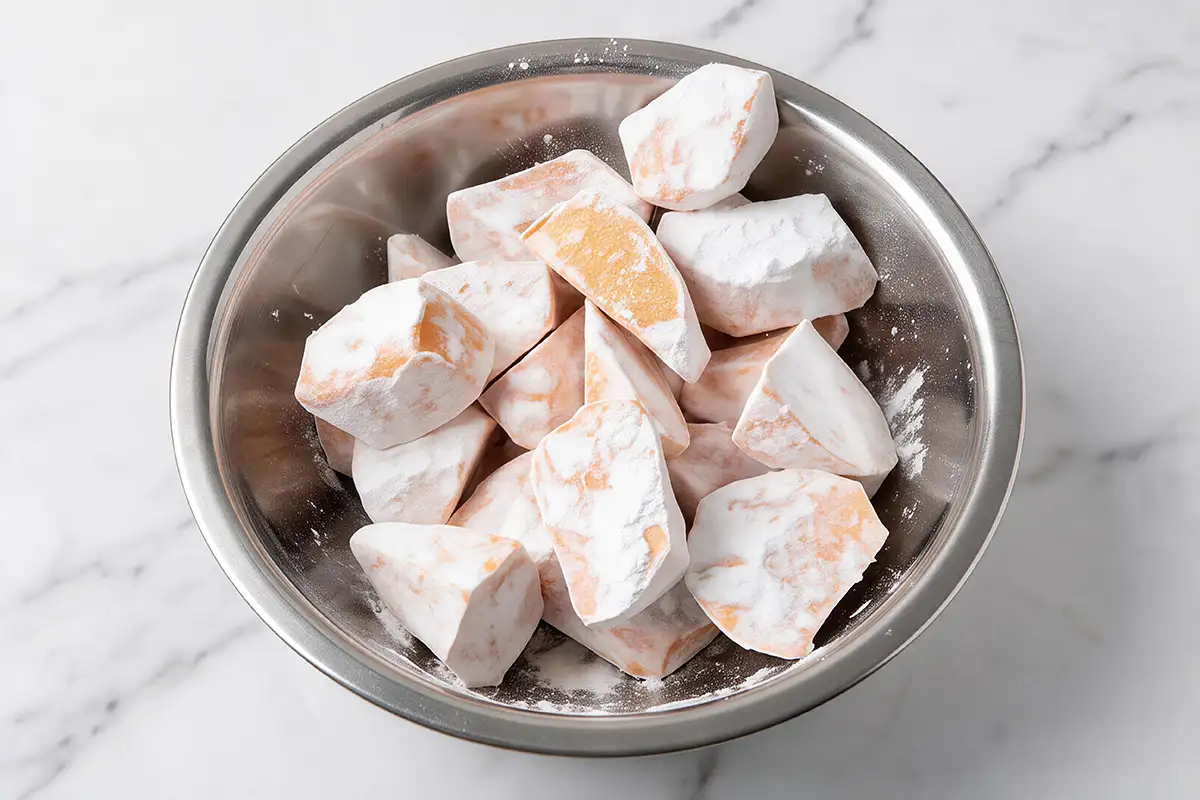
Double-Frying: Why It’s Important
I used to think that frying once was enough. But that’s not the case with sweet potatoes.
Set the temperature for the first fry to 160°C (320°F). This temperature is low enough to allow the heat to penetrate to the center without burning the skin. Fry in batches—don’t overcrowd the pot. Each batch takes about 3 to 4 minutes. The inside of the sweet potatoes should be tender, but they should still be pale in color. When you poke them with chopsticks, they should give way easily.
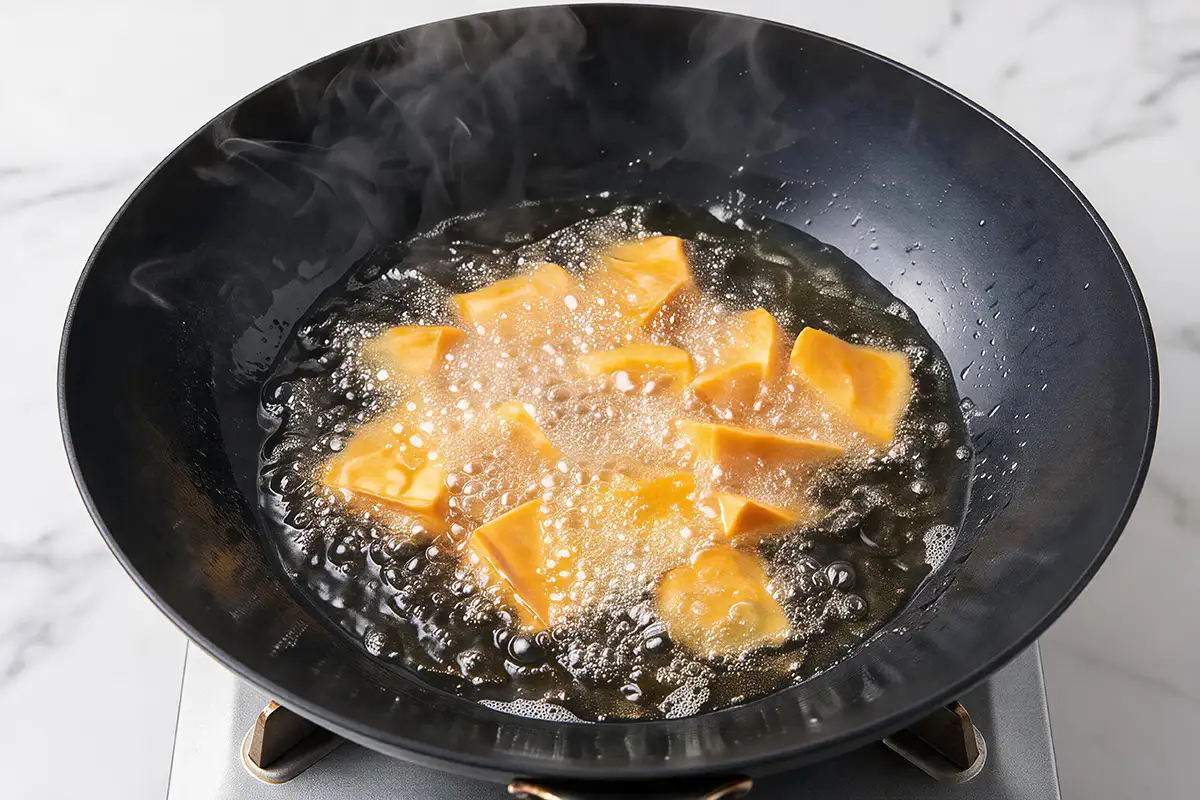
For the second frying, set the temperature to 180°C (350°F). This is the key step for creating a crispy exterior. Return the sweet potatoes to the oil and fry for just 1 to 2 minutes. The skin will turn golden brown, forming a thin, crispy shell, while the inside remains soft and fluffy.
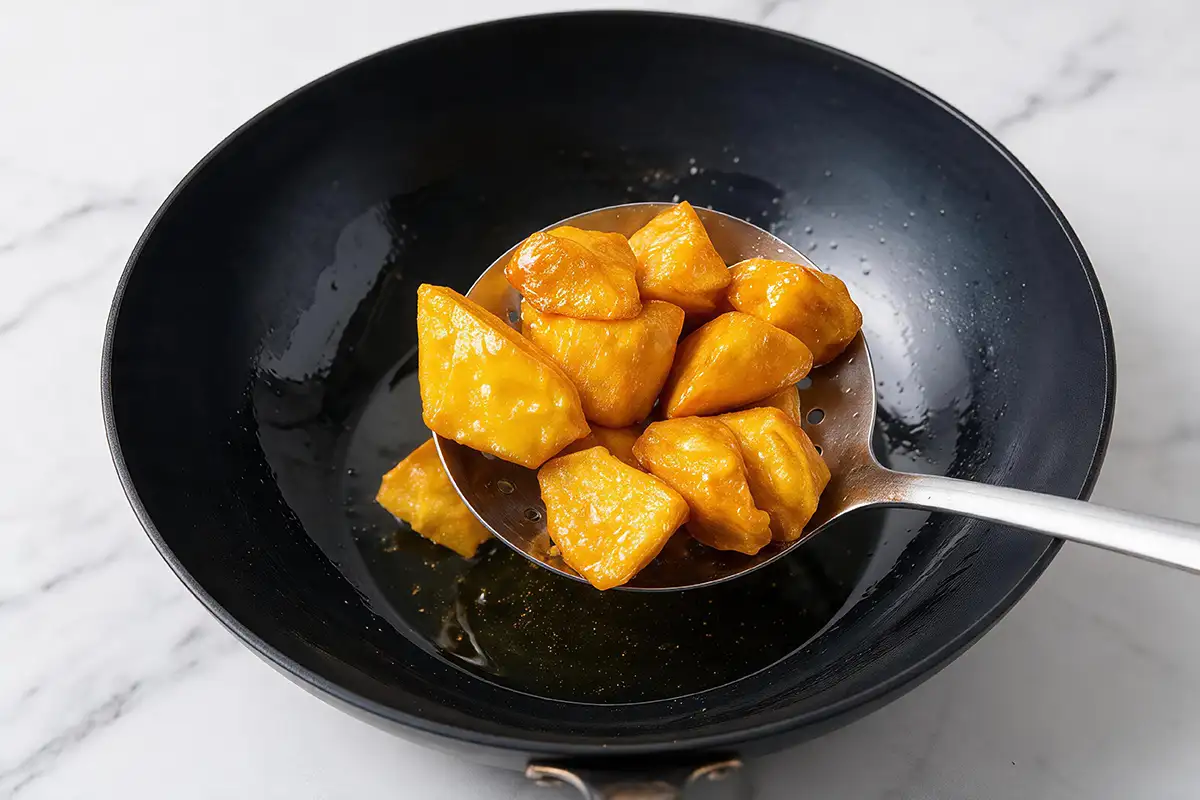
Why does this method work? The first frying cooks the inside through. The second frying instantly evaporates the moisture on the surface, creating that crispy shell. If you fry them only once, it’s difficult to achieve both—either the inside won’t be fully cooked, or the crust will be soggy. My first batch of sweet potatoes came out soft and chewy; it was through this painful lesson that I learned this principle.
Place the fried sweet potatoes on paper towels to drain excess oil, and keep them warm while making the caramel sauce.
Caramel: Keep a Close Eye on It Like a Hawk
It was this step that almost made me give up on this dish.
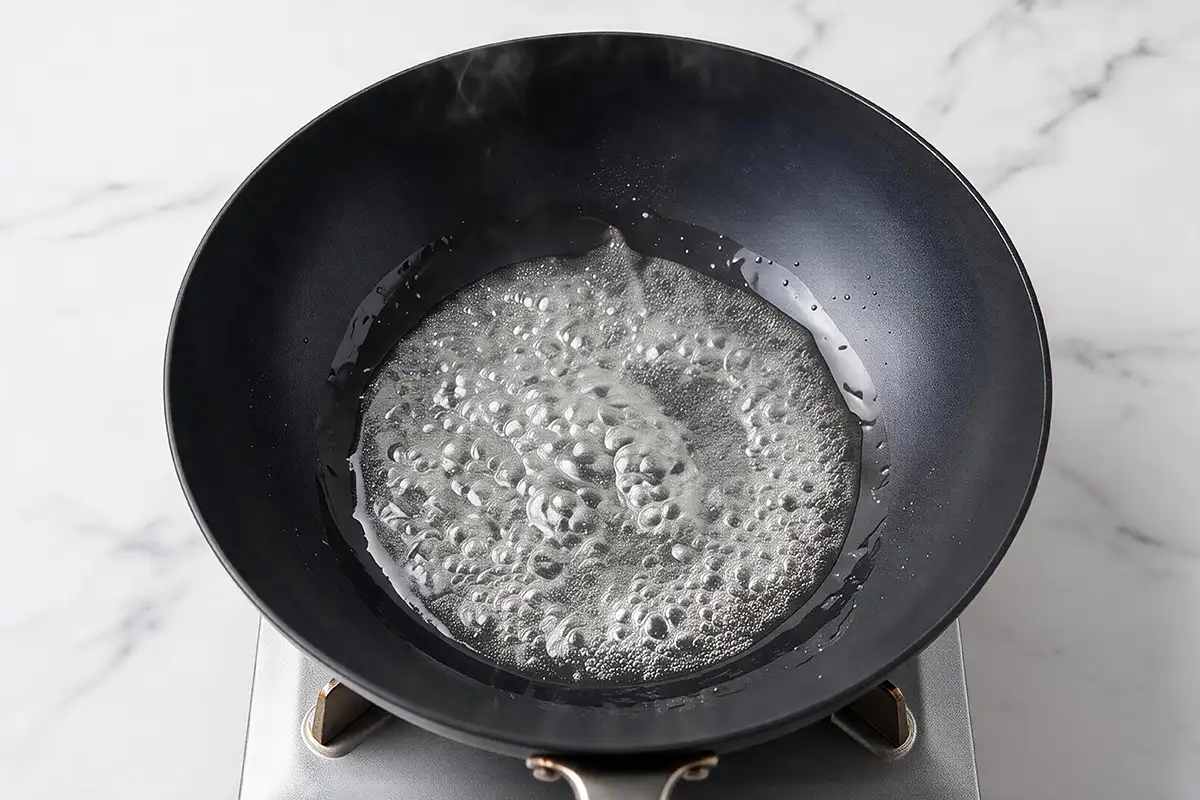
Place 200 grams of sugar and 100 milliliters of water in a clean, heavy-bottomed saucepan. Turn the heat to medium.
Do not stir under any circumstances.
I cannot stress this enough. On my second attempt, I stirred it briefly, and the sugar crystallized into a grainy, gritty paste. The spoon introduces tiny undissolved sugar crystals into the melted sugar, and these crystals then “crystallize” throughout the entire pot of syrup. In just a few seconds, the smooth caramel turns into a coarse, grainy mess.
Just let it sit. If the color looks uneven, you can gently swirl the pot, but under no circumstances should you dip a spoon into it.
Over the next 5 to 7 minutes, the following will happen:
The sugar will first dissolve, turning the water into a clear syrup. As the water evaporates, large bubbles will form. Then, as the syrup thickens, the bubbles will become smaller and more dense. The liquid will begin to take on a pale yellow—light amber—color. This process happens very quickly. At this point, reduce the heat.
Then, within about 15 to 30 seconds, the syrup will turn a deeper amber color—the color of maple syrup. If you have a thermometer, the temperature should be around 150 to 155°C (300 to 310°F) at this point—but you can also judge by eye.
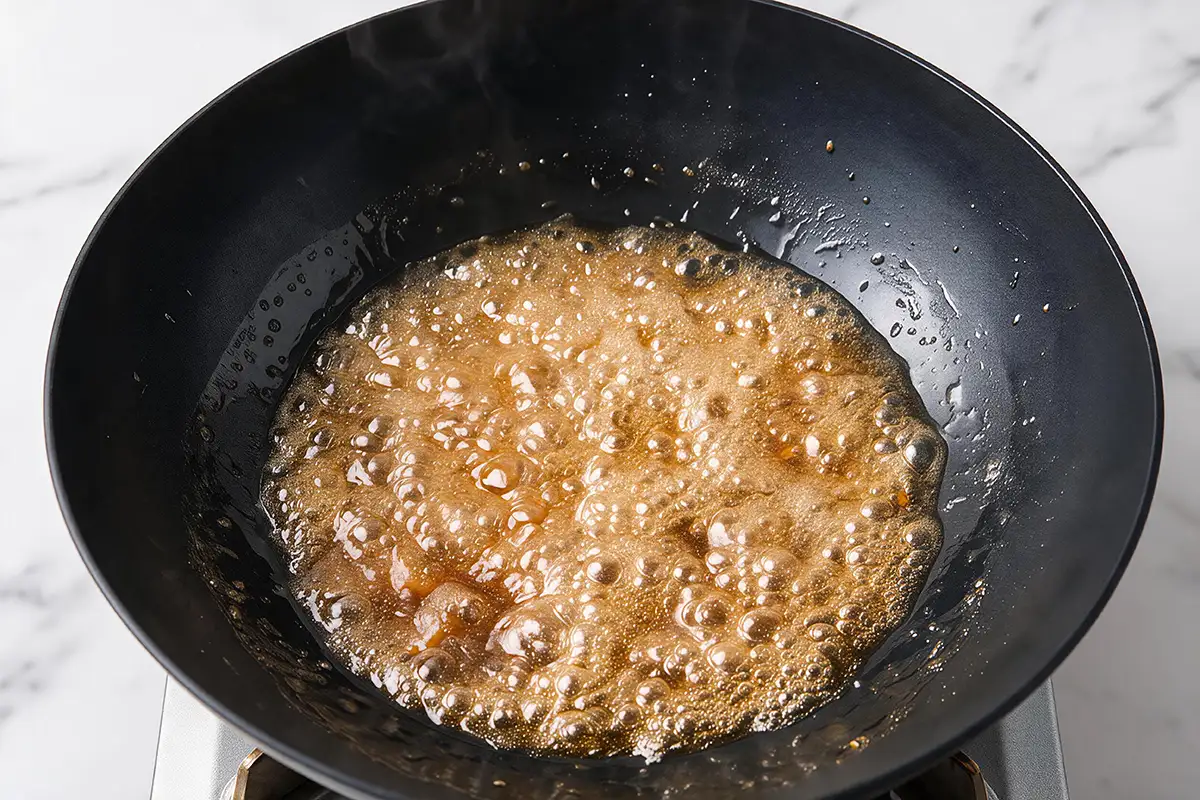
Turn off the heat immediately.
If you let it cook for another ten seconds, it will turn dark brown and develop a bitter taste. Five seconds after that, it will turn black and start to smoke. At that point, your only option will be to soak the pot in the sink for a while to scrub it clean. I know this because that’s exactly how my first attempt ended.
The Last 30 Seconds
Now add the sweet potatoes. Stir quickly with a spatula so that each piece is coated with the syrup. You have about 30 seconds before the caramel starts to harden.
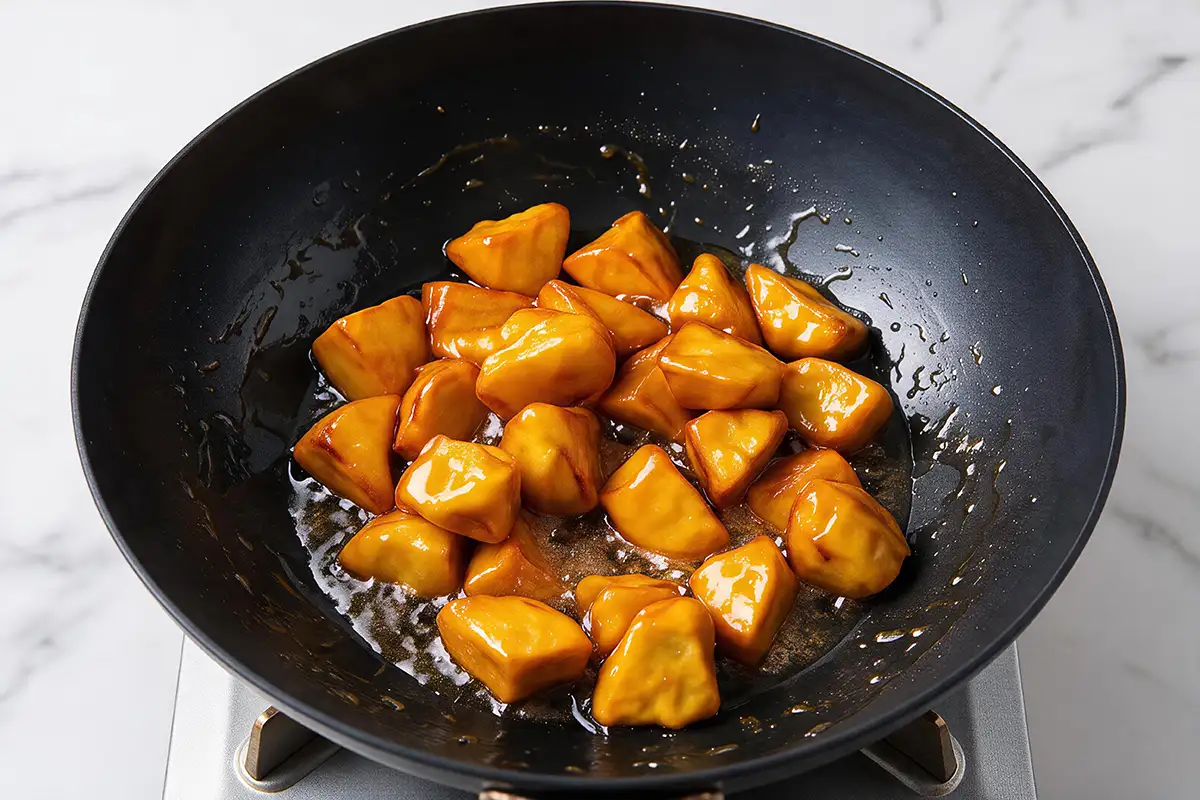
I’ve made this mistake more than once: forgetting to grease the serving platter before starting to cook. The caramel sticks to a dry platter like cement. I had to use a butter knife to scrape the caramelized sweet potatoes off bit by bit. Now, even before I turn on the stove, I wipe the platter with a paper towel dipped in a thin layer of neutral oil.
Transfer the caramel-coated sweet potato chunks to the greased plate. Pick up a piece with chopsticks or a fork and pull it upward. The caramel will form long, golden threads. Drape these threads over the other pieces on the plate. This is what “pulled threads” means—and it’s the essence of this dish.
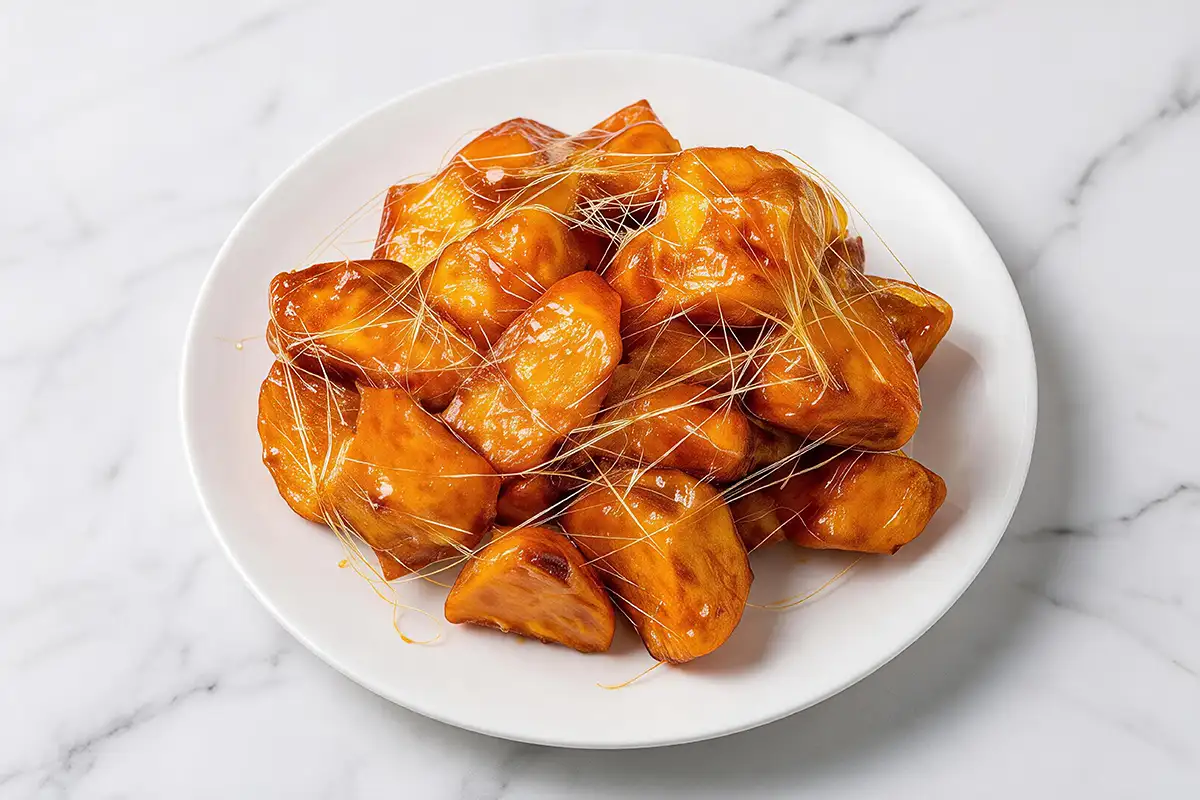
Serve immediately, with a small bowl of cold water on the side. Everyone should dip a piece in the water before eating. The cold water causes the caramel to harden instantly, so it makes a “crunch” when you bite into it. Without the cold water, the scalding-hot caramel will stick to your teeth and might even burn your mouth. This is by no means optional—it’s absolutely essential.
The Mistakes That Taught Me All This
Mistake 1: I walked away from the caramel pot to do something else.
I walked away from the stove to check my phone, and the syrup burned to a crisp. I thought I still had time, but I didn’t. It takes just ten seconds for the syrup to go from perfect to charred. Now I always stand by the stove and don’t dare leave until I’ve removed the pot from the heat.
Mistake 2: I stirred the syrup with a spoon.
The caramel became grainy and completely unusable. Now I let the sugar melt on its own. No spoon, no whisk—no interference whatsoever. Unless absolutely necessary, I never stir it.
Mistake 3: I took the sugar off the heat too early.
At the time, the caramel had a smooth texture and a light amber color, but the resulting candy turned out sticky and chewy, with no stretch at all. That’s because I took the pot off the heat during the “soft crack” stage instead of waiting for the “hard crack” stage. Now I wait until the sugar turns the color of maple syrup—a deeper, richer amber.
Mistake 4: I added the sweet potatoes before turning off the heat.
The residual heat kept the caramel cooking. The sugar went from perfect to slightly burnt and bitter. Now, I make sure to turn off the heat completely before adding the sweet potatoes.
If Something Goes Wrong
Is the caramel noticeably grainy? This is because you stirred it, or water droplets fell into it. Next time, don’t stir it, and make sure the sweet potatoes are completely dry.
Is the caramel very dark but not bitter? You may have cooked it just a little too long. The flavor will be more intense, but it’s still delicious. Next time, add a pinch of salt to the sugar before cooking—this will neutralize that sharp, pungent taste.
Are the sweet potatoes not crispy enough? Either you skipped the second frying, or you didn’t drain them properly after the first frying. Residual oil on the surface will prevent the second frying from working properly.
Did the caramel sauce in the pan set before you could coat all the ingredients? That means you were moving too slowly. Place the sweet potatoes on the counter next to the stove and have an oiled plate ready. Work quickly and don’t get distracted.
Alternatives and Variations
Don’t have potato starch? Cornstarch works too, but the coating will be slightly thicker and not quite as crispy.
Don’t have orange-fleshed sweet potatoes? Regular potatoes work just as well—follow the same method. Taro (purple sweet potato) is a common alternative—it just needs a slightly longer frying time (add 1 minute to each frying session). Apples and bananas also work, but because of their delicate texture, they need to be fried quickly (2 minutes for the first fry, 1 minute for the second).
Want to add sesame seeds? Immediately after coating the sweet potatoes with caramel, sprinkle a tablespoon of toasted white or black sesame seeds over them. This adds a nutty flavor and makes the dish look beautiful.
Want to flavor the caramel? Add a pinch of salt to the sugar before heating it. This brings out the sweetness even more. Or, after turning off the heat, stir in ½ teaspoon of vanilla extract.
How I Serve It
This is a dish that’s sure to wow your guests. I usually save it for the end of special gatherings—like birthdays, Chinese New Year, or when I’m hosting friends who’ve never seen me cook before.
While everyone is still chatting, I walk over to the dining table carrying the plate. First, I set down a bowl of cold water. Then, using chopsticks, I pick up a piece, hold it high, and let the caramel stretch into long strands. Even before they’ve tasted it, everyone can’t help but exclaim, “Wow!”
Quick Answers
Can I use brown sugar instead of white sugar? Yes, but the caramel will be darker and have a molasses flavor. White sugar produces the purest, clearest caramel.
Do I need a candy thermometer? No, but it makes this recipe much easier. A basic thermometer costs less than $10 and saves you the trouble of guessing. If you don’t have one, watch the color—turn off the heat when the caramel turns a maple syrup-like amber color.
Can this be made ahead of time? No. Caramel hardens as it cools and is prone to burning or crystallizing when reheated. This dish must be made fresh and served immediately.
Why did my caramel turn white and cloudy? That’s crystallization. It may be because the sugar wasn’t cooked quite long enough, or a bit of moisture got into the caramel. Next time, cook it a little longer (until it turns a deep amber color) and make sure the sweet potato chunks are completely dry.
Can I bake them instead of frying? Yes, but the texture will be different. Toss the sweet potato chunks with 1 tablespoon of oil and bake in a 200°C (400°F) oven for 20–25 minutes, until the skin is crispy. Then coat them with the caramel as usual.
What if there are leftovers? This dish doesn’t keep well. Please eat it within two hours. After that, the caramel will absorb moisture and become sticky. Never reheat it in the microwave—the caramel will melt into a pool of liquid. If you must eat it, just treat it as chewy cold candy.
I’d say that sometimes cooking is a form of meditation that requires complete concentration. Although this dish consists only of sugar, water, and sweet potatoes—simple ingredients—mastering the timing still takes repeated practice.
I’ve burned sugar until it smoked. More than once, I’ve ended up with grainy, useless caramel. I’ve also pulled out strands of caramel that were limp, sticky, and refused to form a thread. Once, because I forgot to grease the plate, I ended up having to chisel the caramel chunks off with a butter knife.
All these failures were worth it. Now, whenever I serve this dish, everyone at the table stops talking and stares intently as the caramel stretches into strands. That moment is what it’s all about.
Why not give it a try on a special occasion? Whatever you do—never stir the syrup.
Related Articles: